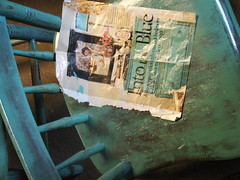
“I want them to look like this”, she said! As she showed me a page she had yanked out of Better Homes & Garden.
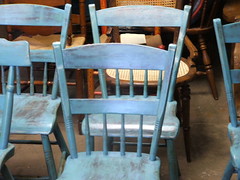
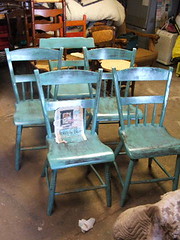
Trends from magazines & doing requests… I love it all… bring it on. This was the other job this week, a trendy yet stylish number on an old set of plank seat chairs. It was romance from the get-go, a song & dance, a wine & diner. Phone calls, emails, drive bys. It never happens on the first time (getting the job). It’s hard for folks to change something, so sometimes you have to walk them through it, do a little hand holding.
These chairs have been in her family for years. They had two or three layers of paint of for each generation. When we stripped them we saw anything from that 1920’s green to the dark blues of the 1940’s/50’s to the 80’s greens of the 80’s & finally just black for the last 20 years... Needless to say they were a bear to strip. I won’t even go into striping them, it's still a little traumatic for me & more so for my Uumpa Llumpa.
Having to wine & dine a job is not usual. After seeing so many pieces of furniture transformed over the years. I forget that most folks can’t see beyond what a piece is right here & now. They can’t see its potential future or what it can could become. That’s why so many pieces are lost to the dumpster or landfill. It’s easy for someone to just toss it & buy a new one, god for bid they think about.

Here is a quick funny tail from the shop. I jumped in my truck one morning to run to the store. Its garbage pick up that day. I drive by a house & spot a small table. I stop and look, it’s a sexy little Victorian era side table, long turned legs with a turtle shaped top. It ends up one of the legs is broken, but all the pieces are there. It’s an easy fix, so I grab it. Being a good OCD’er I bring it back to my shop & fix it that day, I polished it up ( it looked beautiful). So I popped it in my shop for sale.
Not more then a 4 days later a guy stops into my shop. I realize this is the guy from the house that I got the table from (cross eyed). He says; I am looking for a small table to replace one that was broken!
Being a good wise ass, I say I think I may have one for you… We walked into my make shift show room and I show him the table. I say I think you threw this out on Tuesday and , Hhe’s says yeah I had broken it. I tell him I would be happy to give it to him for the repair cost (much less then the resale price). He gets all funny, I think really embarrassed that he didn’t get it fixed himself. He then goes I never liked that table… keep it. Then he departed with out the table...
BACK to the blue chairs we glued and & we stripped. Next, We sanded and filled. The nice thing about a repaint is you don’t have to do as much detail work, especially since it’s an “antiqued” look. Doing an antiqued/distressed finish, you want all the dents & dings and some of the rough edges all that equals character & that what we're looking for.

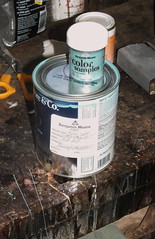
The color, this was funny. When she said we decided on spa blue I thought to myself, sweet baby hey-zues what did I get myself into. Then I saw the picture & it made sense. So spa blue it was !
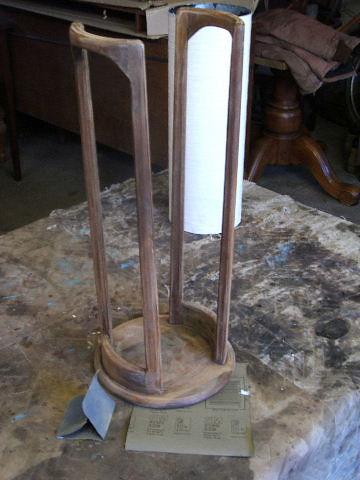
I decided to do a rag it on & wipe it off, approach (karate kid style)to the staining/painting of the chairs; Oh and a little dry brushing to temp the blend (love saying that), It’s the perfect way to create all the different depths in that antiqued finish. When you “wipe off” I use a damp paper towel & work the areas that would have been worn over the years. The seat, center & edges and the back spindles & side edges and don’t forget the front spindle (pictured) That always has the best ware. After the paint dries I usually hit all the sharp edges with 320 wet/dry sand paper doing so that we can quickly expose the natural wood.

Finishing... On this kind of finish I think it’s very important to throw a clear coat or two to protect the antiqued finish, it also guarantee’s it will last for a good long time. I like to go with a quick coat of a shellac sanding sealer (best over paint), then a couple of coats of satin lacquer. Please do a quick sanding between coats (400grat wet/dry), the 10 minutes it takes will make all the difference in the look & feel of the piece.
After they’ve dried for about 12+ hours, we take superfine steel wool (0000) & a very soapy mix of water then rub the chairs down & dry them off. This smoothes the finish out & gets rid of any over spray.

~Chairman


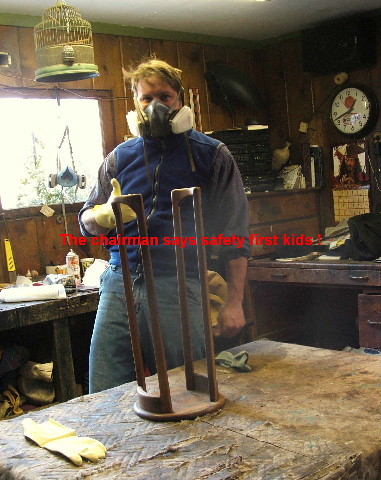
 First, I like to clean the piece with denatured Alcohol & extra fine steel wool (0000) This will clean all the built up grime that's on your piece. Make sure your wearing your respirator while doing this.. After you've cleaned the piece, dry it with a paper towel.